Spend $25 to be eligible for FREE SHIPPING!
Minimum order activates Free Shippingoption on check out page.
Vapco Products
UV Dye
UV Dye
Couldn't load pickup availability
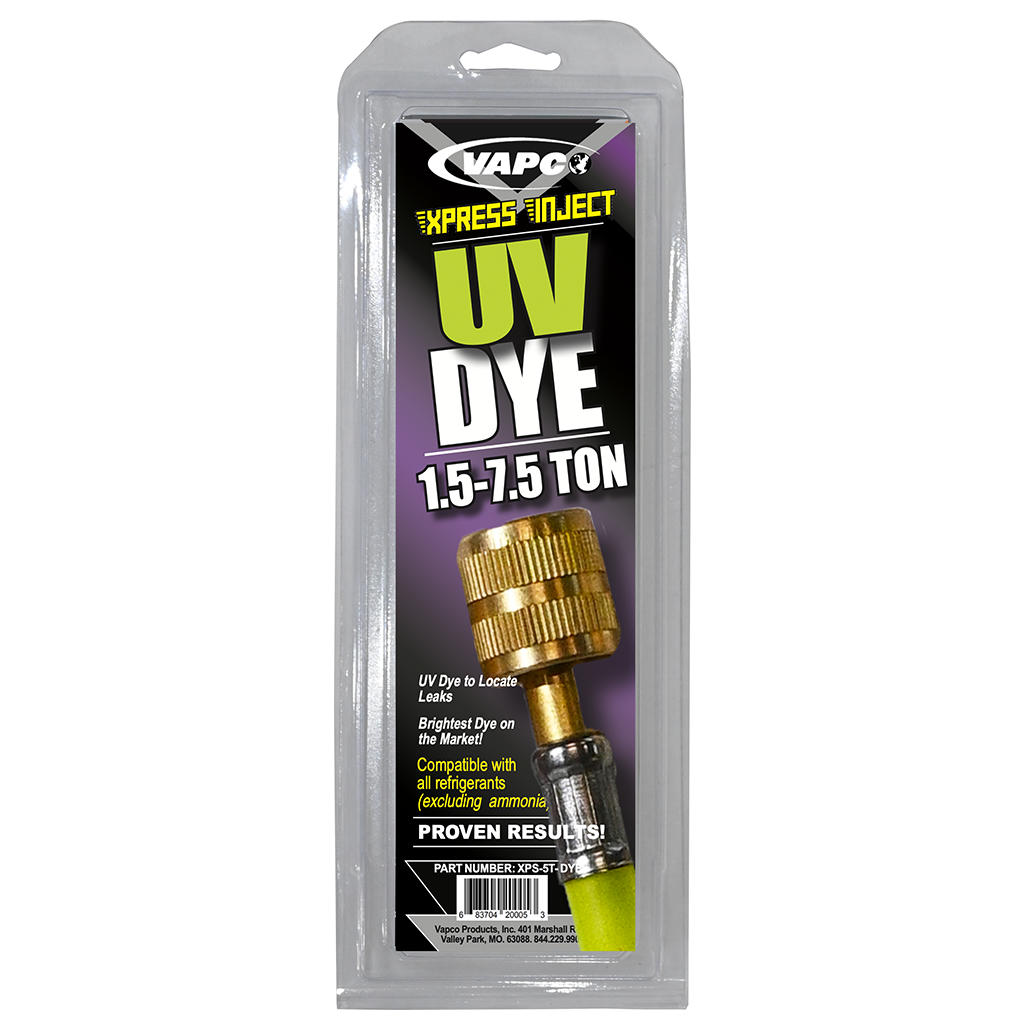
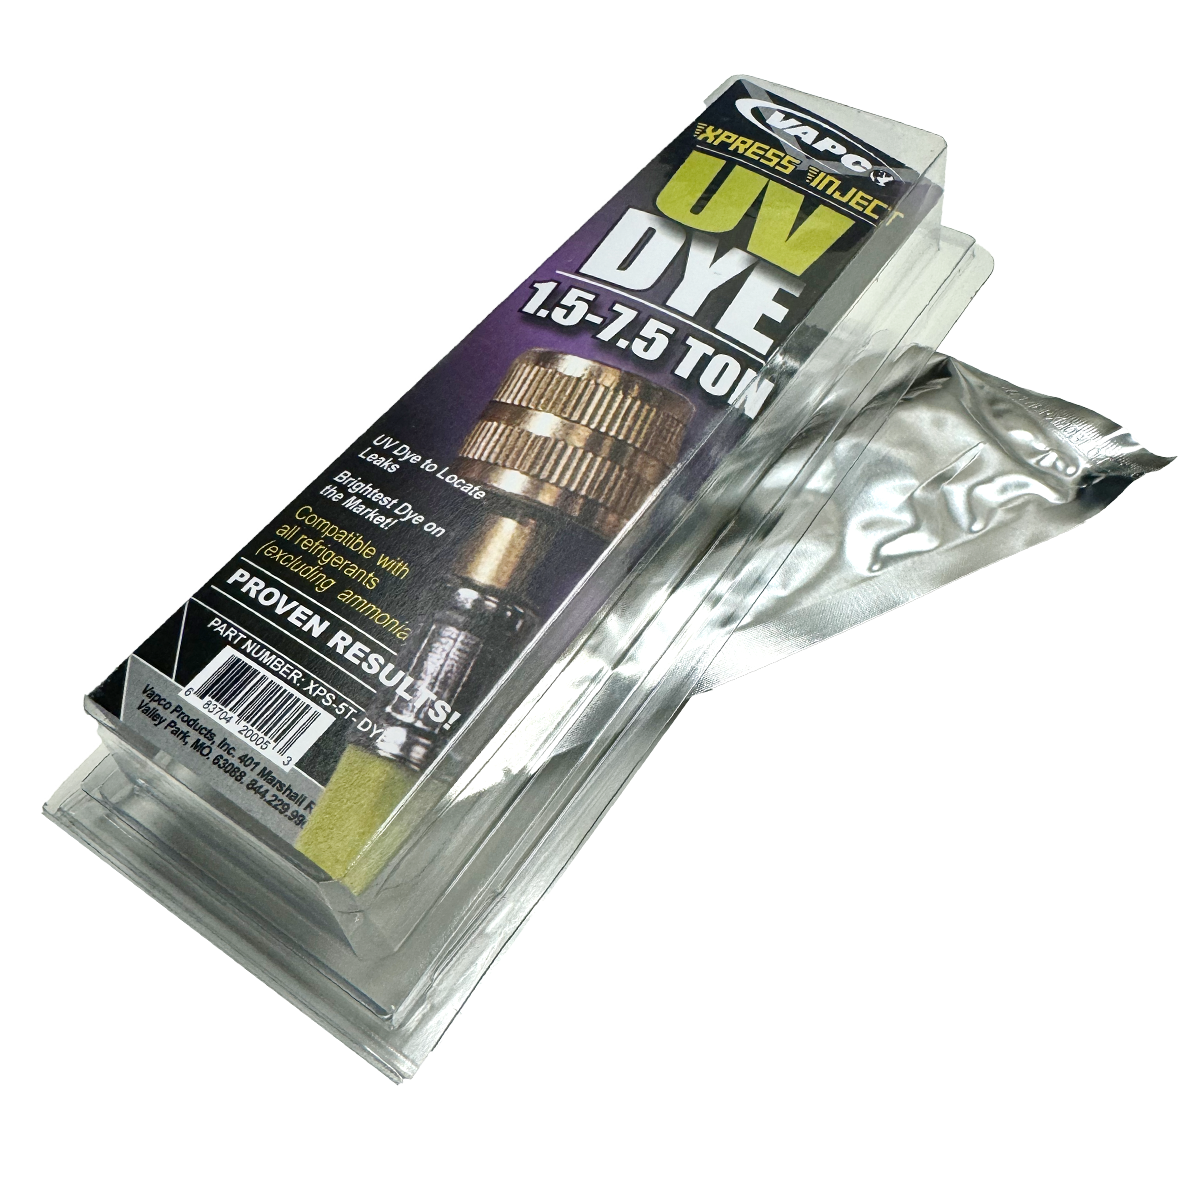
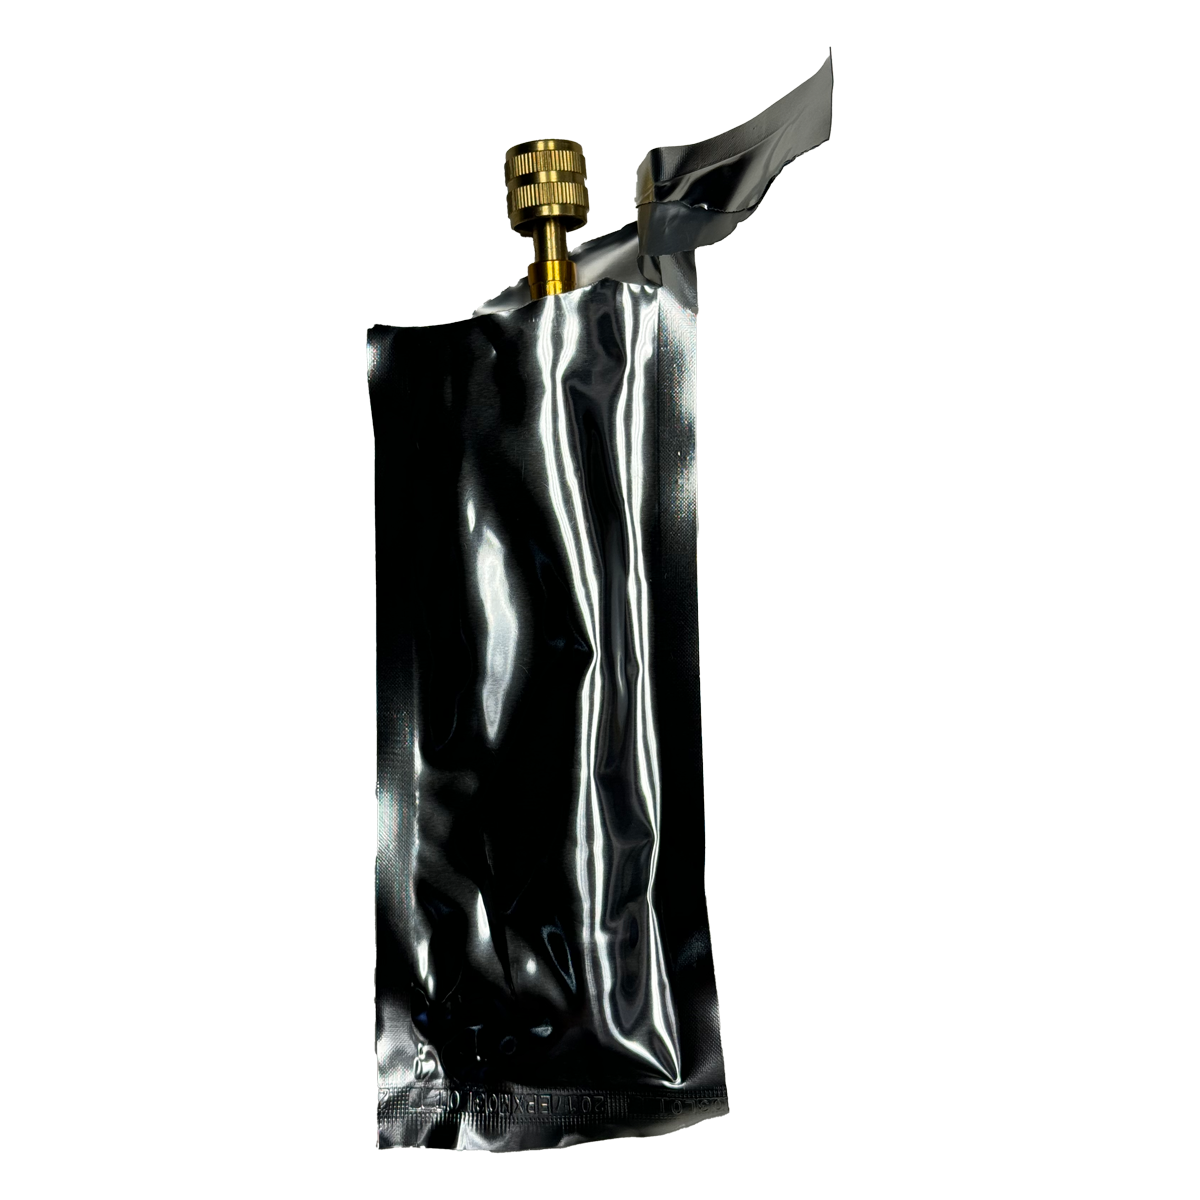
Shine a Light on Leaks: Vapco UV Dye - The Easy Leak Detection Solution
Tired of struggling to find refrigerant leaks? Look no further than Vapco UV Dye, the brightest UV dye on the market designed to make leak detection a breeze!
Here's what sets Vapco UV Dye apart:
- Unmatched Brightness: Our concentrated formula emits a vibrant violet hue, easily detectable with the naked eye under a UV lamp (not included). No more searching for faint glows!
- Precise Leak Location: The dye travels exclusively with your refrigerant, highlighting the exact location of leaks within your system. Save time and effort pinpointing the problem.
- Fast & Easy to Use: Simply add the dye to your refrigerant system and follow the instructions. The dye will do the rest, making leak detection quick and convenient.
Vapco UV Dye is perfect for:
- Air conditioning systems
- Refrigeration units
- Heat pumps
- And more!
Stop leaks in their tracks! Add Vapco UV Dye to your cart today and experience the difference a bright, fast, and easy-to-use leak detection solution can make. Keep your system running smoothly and efficiently!
This is a professional grade HVAC product. It is crucial that you adhere to all directions and precautionary statements to prevent injuries.
Directions
Directions
Directions Using Vapco’s Direct Inject Gun:
Turn the A/C system on and verify the unit is running.
- With the CO2 cartridge in the gun, connect the Xpress Seal to the Direct Inject Gun.
- Connect the other end to the low-side service port. Briefly pull the trigger.
- The direct Inject Gun will meter just enough CO2 to empty tube.
- The sealer has now been injected into the system.
- Disconnect the empty tube from the low-side port. Install service port cap.
- Run the A/C unit at least one hour after installing Xpress Seal.
12+ uses per CO2 cartridge.
For traditional methods using refrigerants to install Xpress Seal use the following instructions:
- Turn the a/c system on and verify the unit is running.
- Connect Xpress Seal to the low-side service port of the system. (This is generally the large line).
- Connect the manifold refrigerant hose to the refrigerant supply tank.
- Verify the high and low side valves on the manifold are closed before proceeding.
- Purge the low pressure hose when connecting to Xpress Seal.
- Open low-side valve and watch for the tube to clear. (This will ONLY take a few seconds!)
- Turn off low-side manifold valve as soon as the tube is clear.
- Turn off refrigerant gas. Verify the system is charged to manufacturer’s specifications!
- Disconnect low-side hose from Xpress Seal.
- Remove Inject.
- Install service port cap.
- Run the a/c unit at least one hour after installing Xpress Seal. (Do not bend or kink hose!)
Read and understand the product’s label and Safety Data Sheet. DO NOT mix with ammonia, DO NOT use in any manner for which it was not designed. Always wear PPE (Personal Protective Equipment) when servicing HVAC equipment.
Precautionary Statements
Precautionary Statements
Share


